Nail art foils are shimmery strips of foils that could be transferred on the nails by simple pressing and rubbing it against the nail. It's so easy to use and application takes very little time. A great alternative if you want intricate designs on the nails but don't have a lot of time.
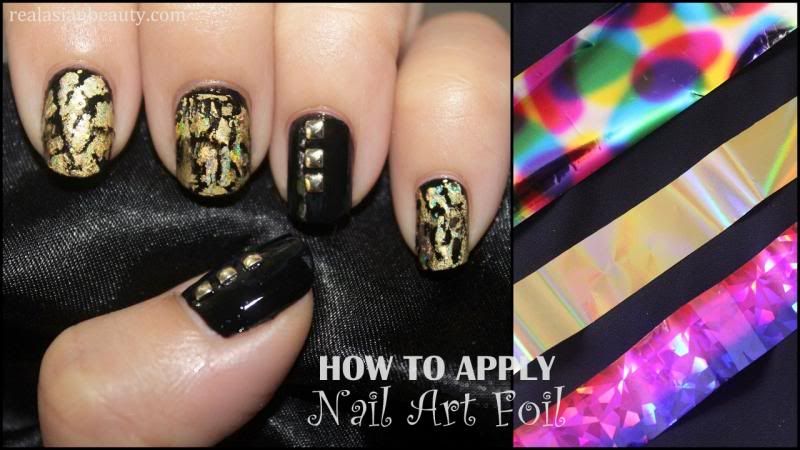
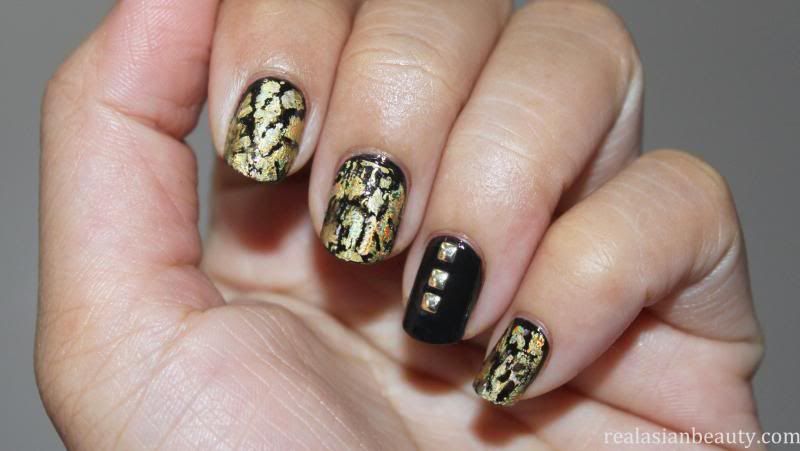
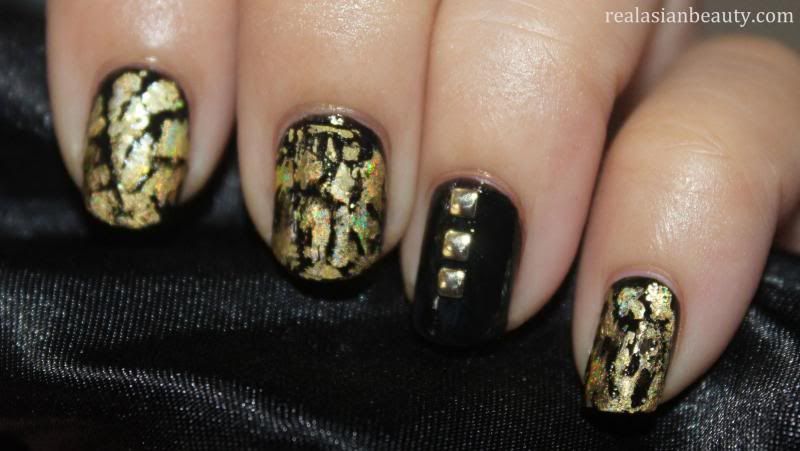
Nail foils are usually used to cover the entire nail. But since I wanted to be different, I decided to make the print shattered leaving traces of the base color. I love how it turned out because it kind of looks like the cracking nail polish that was so hot a couple of months ago.
I used :
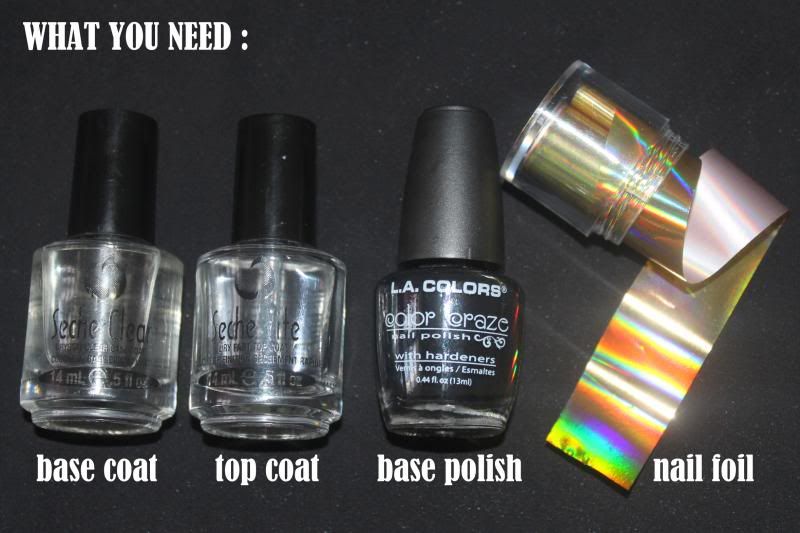
- Seche Clear Base Coat
- Seche Vite Top Coat
- LA Colors Black Nail Polish
- Gold Nail Art Foil
I got my nail art foils from BornPrettyStore.com.

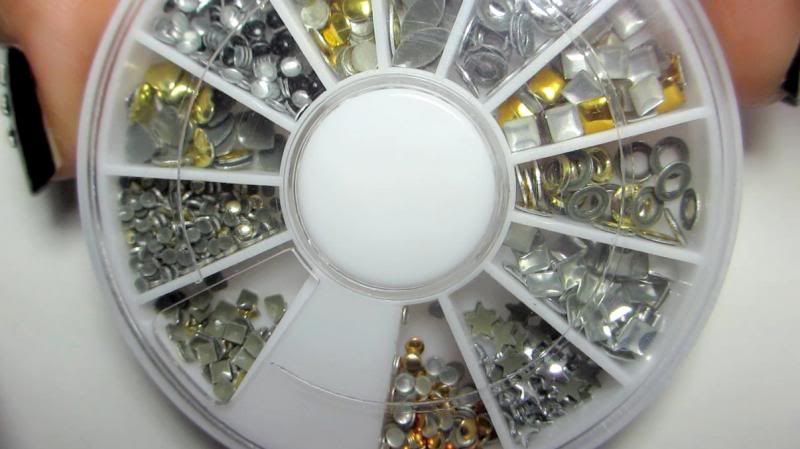
I also decided to leave the two nails plain and put some metal studs instead to serve as the accent. The metal studs are from BornPrettyStore.com as well.
LINKS to buy FOILS and STUDS :
Nail Art Foils : please click here
Metal Studs : please click here
Don't forget that you can use my discount code RABW10 and get 10% OFF!!
Here's the tutorial :
Isn't it so easy to do on your own? Told you! :)
Just remember that you have to wait for the nail polish to be tacky before starting to transfer the foil on the nail.
Also, applying top coat lessens the shine of the foil. I did try to not apply top coat, it was such a failure because I just woke up and found out that the foil was entirely gone. It does fall off if you don't seal it with top coat. So yes, top coat is essential!

I hope you like this simple and easy nail art design!
♥
Kristine