Taking care of the skin is important but using good and effective products should be a top priority. Aside from whitening and rejuvenating, we are almost always looking for product that will give us our dream glory skin!
Another dilemma that you may have experienced when using skincare products is that most of them recommend you to use various products that means you'd have to do multiple steps daily.
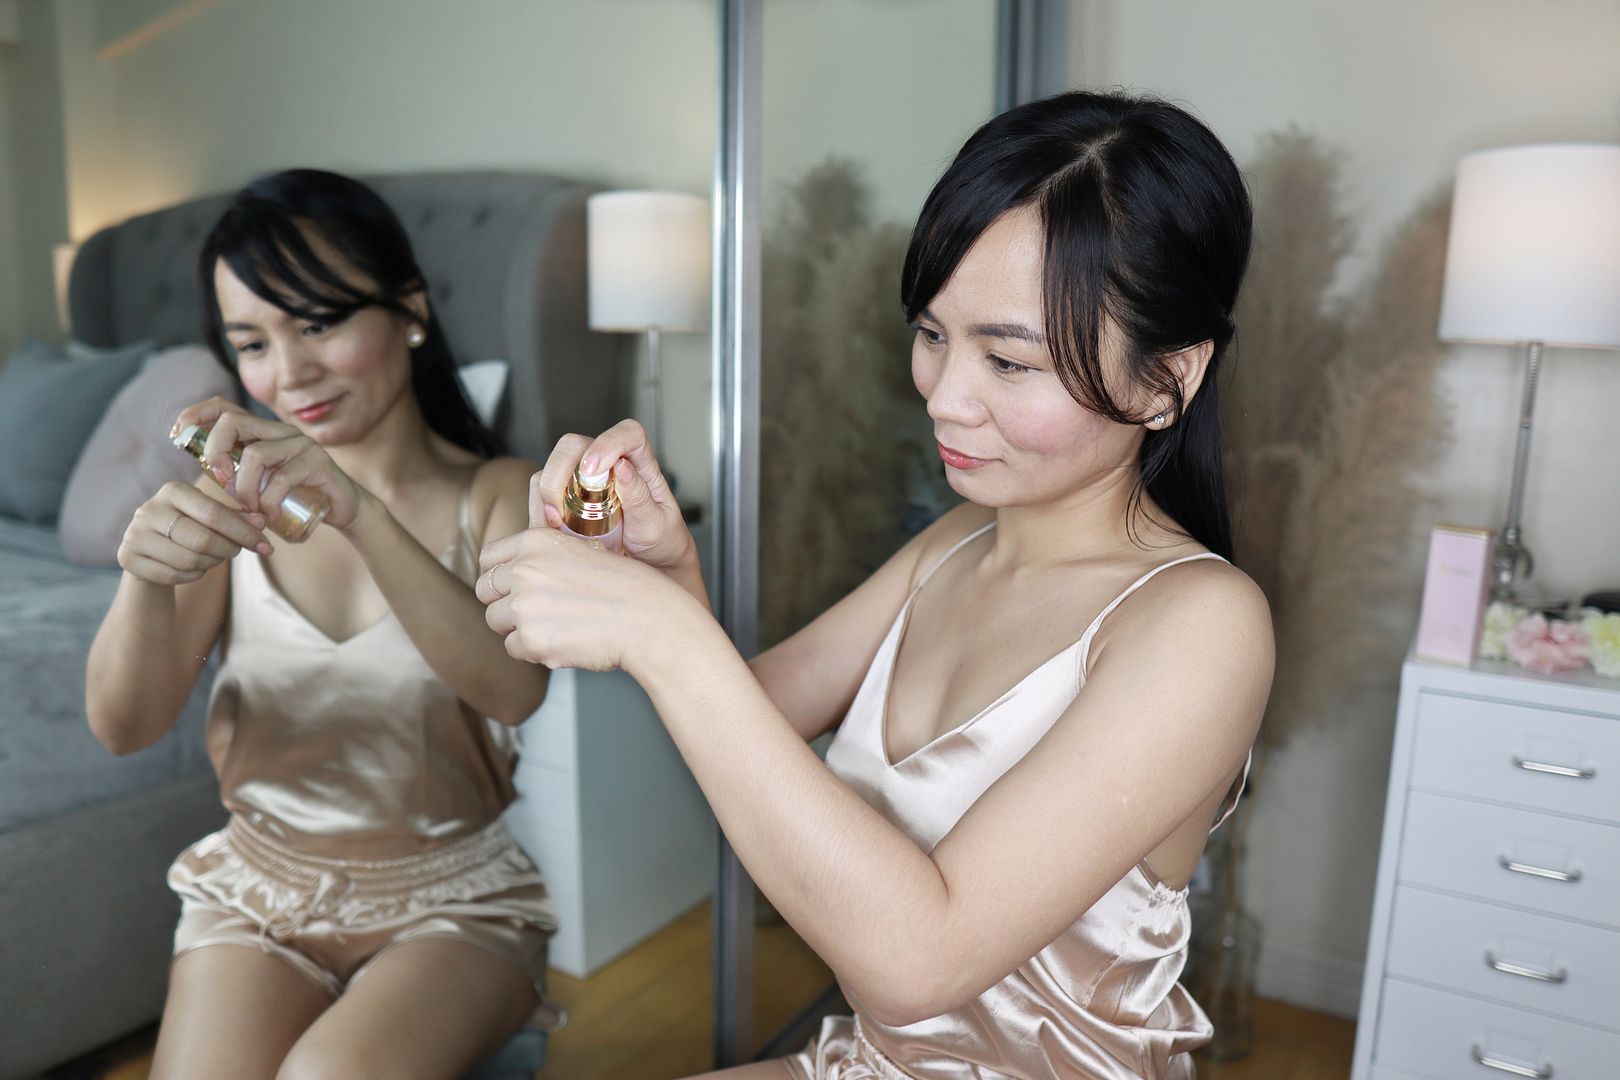
If you are looking for a good skincare product that only requires minimal step to complete the regimen, then you have found what you're looking for!
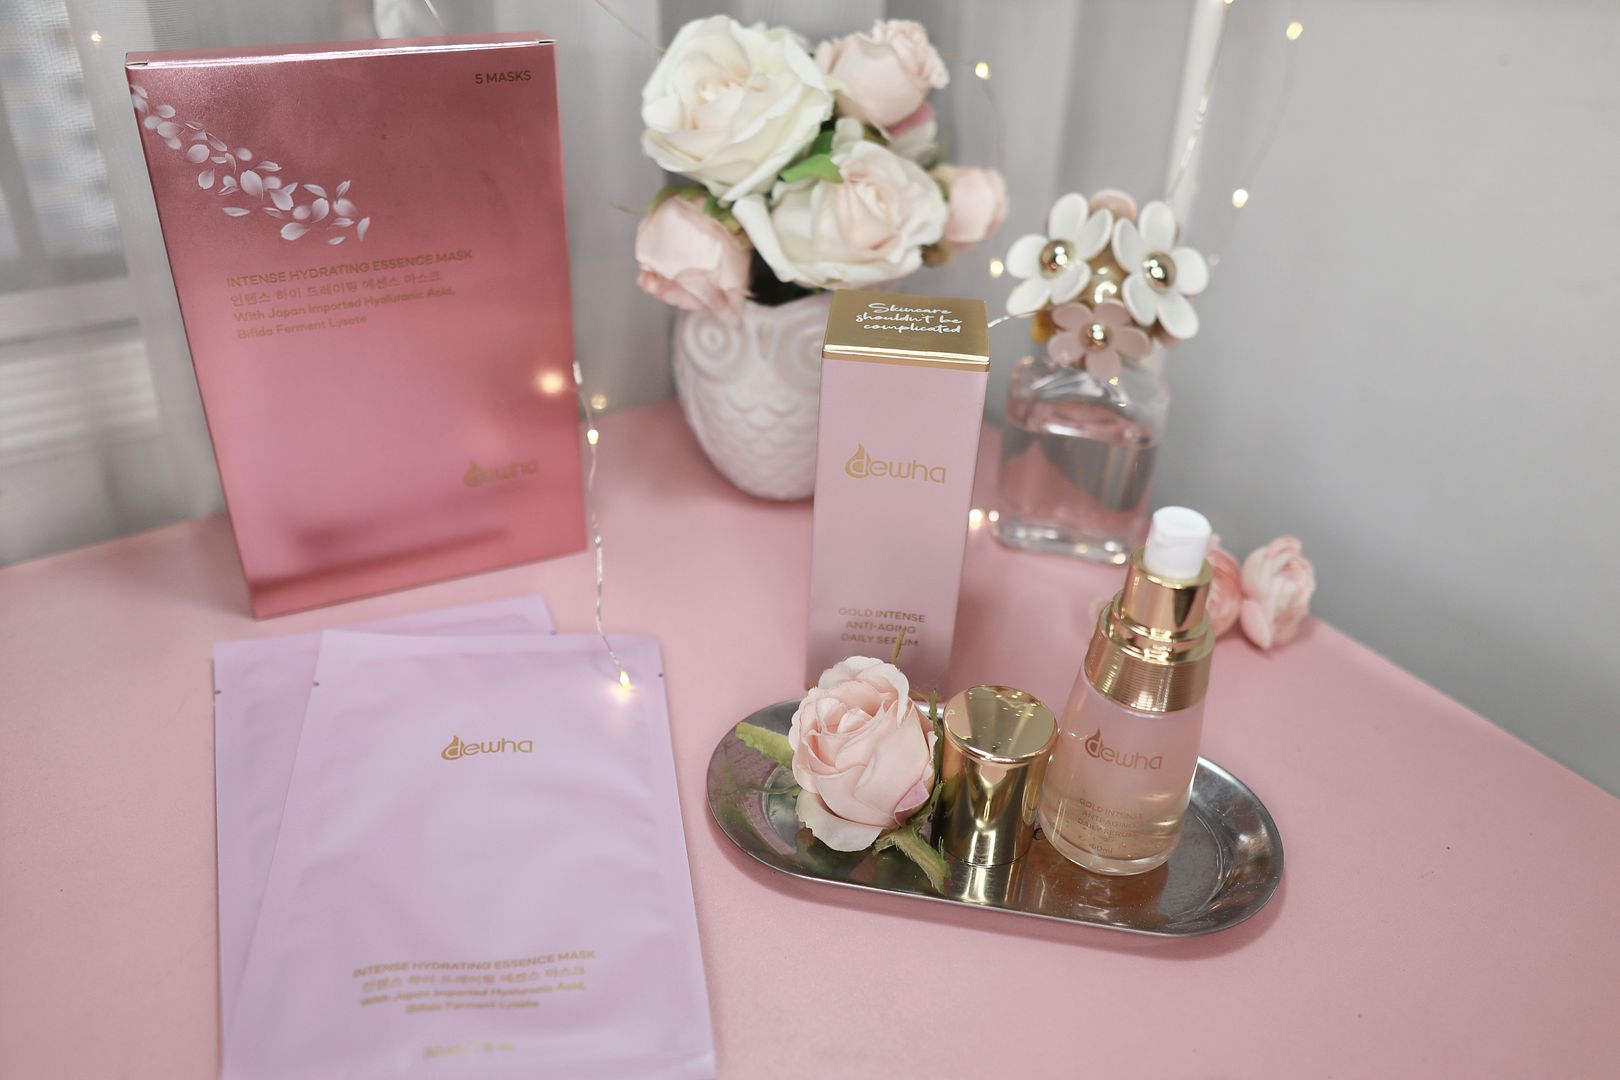
DEWHA (pronounced as Du-Ha) has a 2-Step skincare regimen called the "Baby Glow Bundle". This will help you achieve baby-like skin that is smooth, firm and glowing, all in just 15 days!
Don't believe me? Look at the photo below!


.jpg)
.jpeg?width=1920&height=1080&fit=bounds)